Rebuilding my FIRST Carb to fix the $400 Seadoo!
May 5, 2023
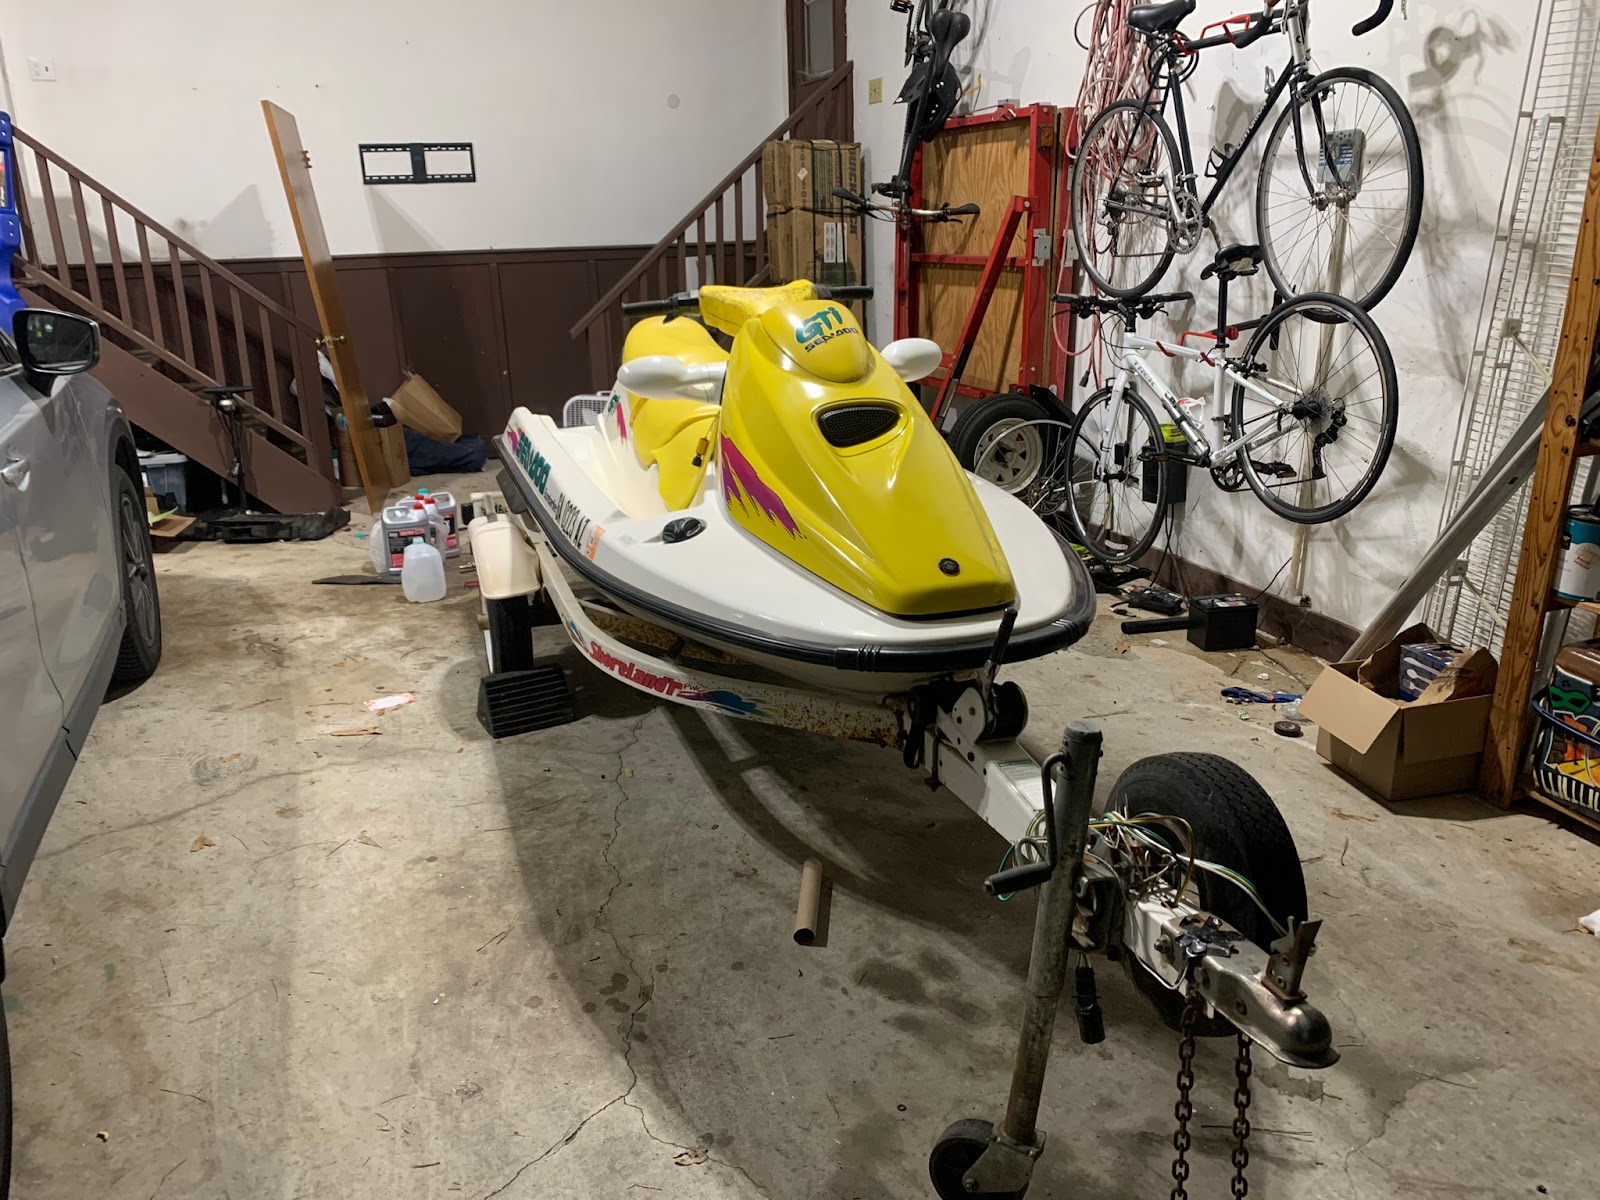
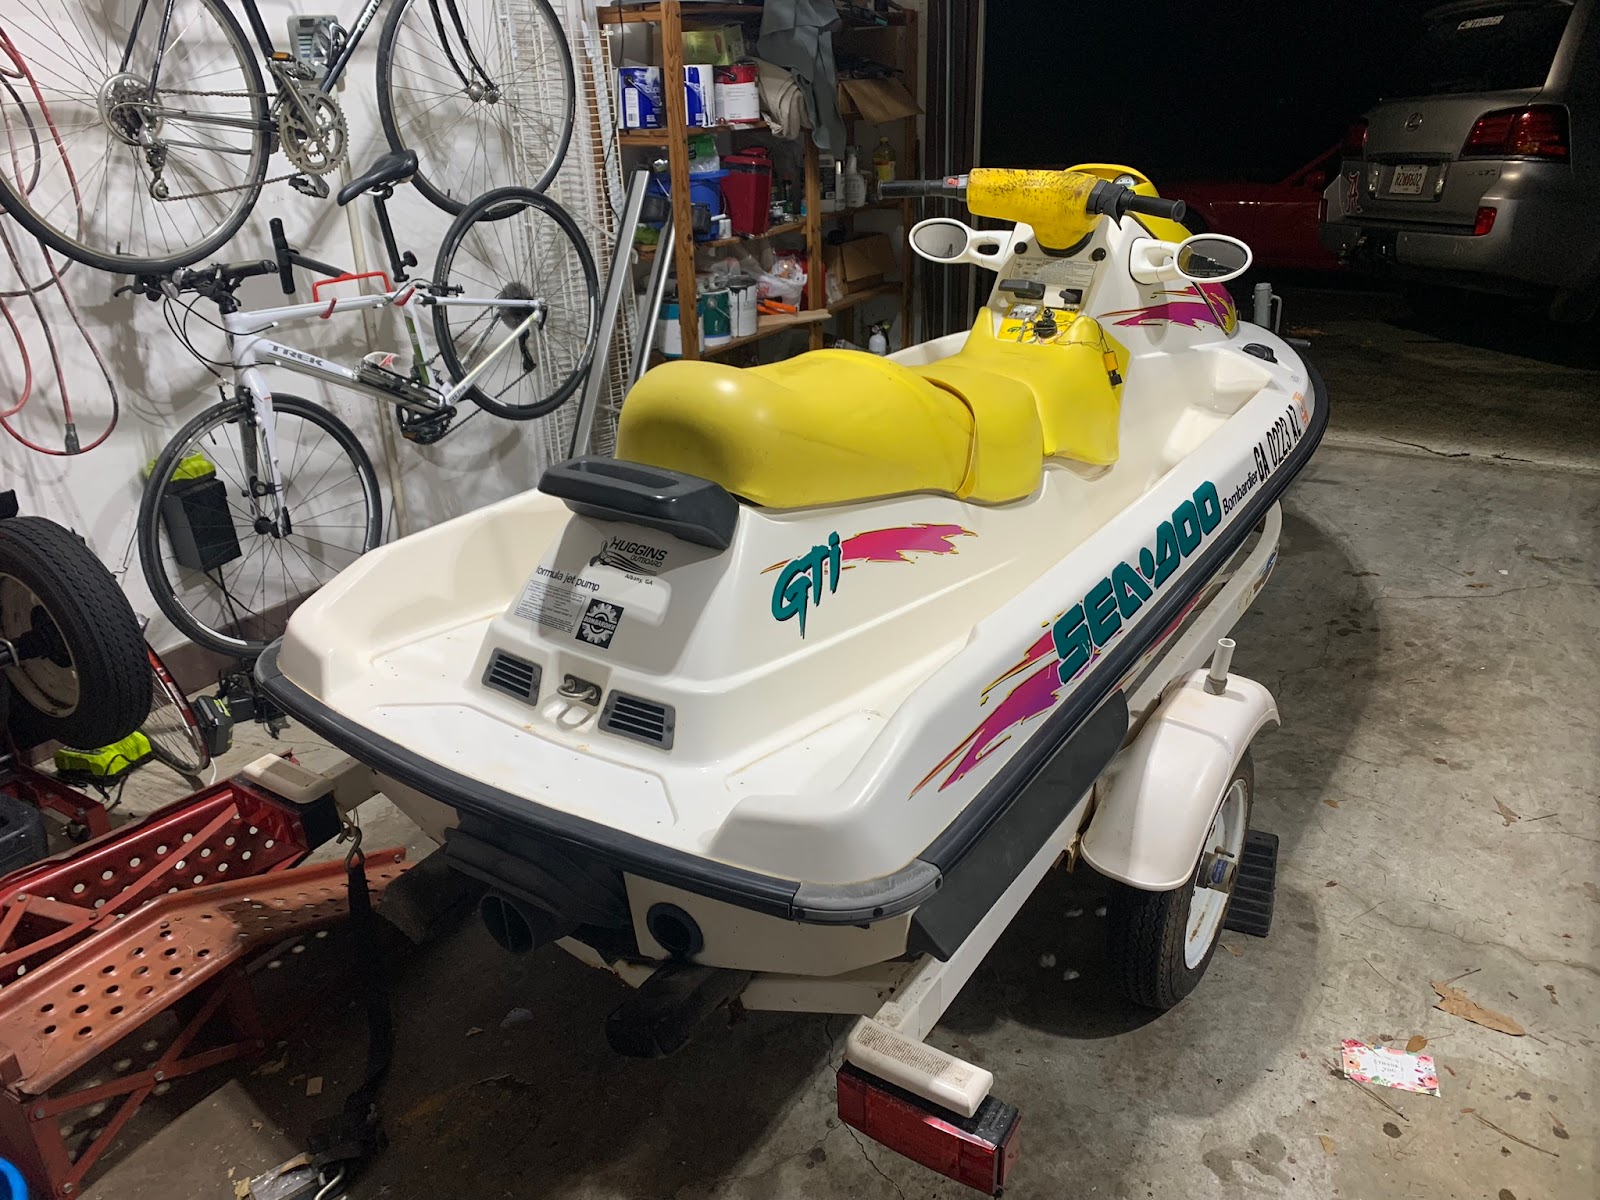
In my last post, I purchased my new (to me), non-running 1996 Seadoo GTI and covered the initial process of getting it back up and running. Once I got jet ski running, I had about 2 months to enjoy it, taking it out every weekend including one with my sister.

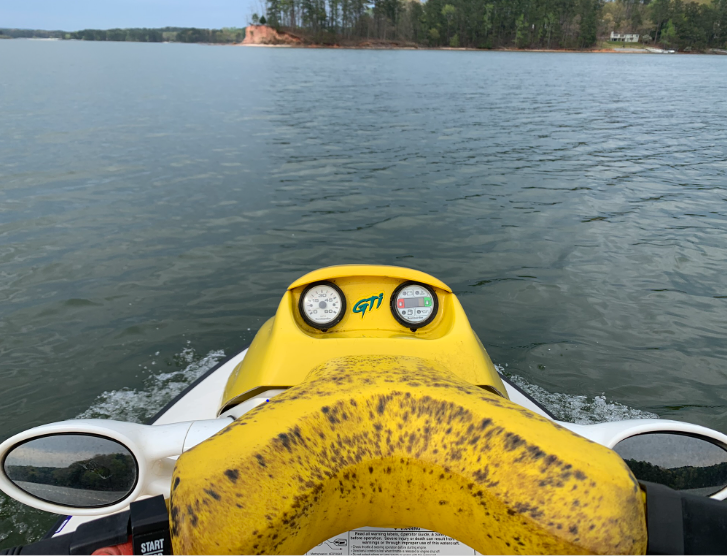
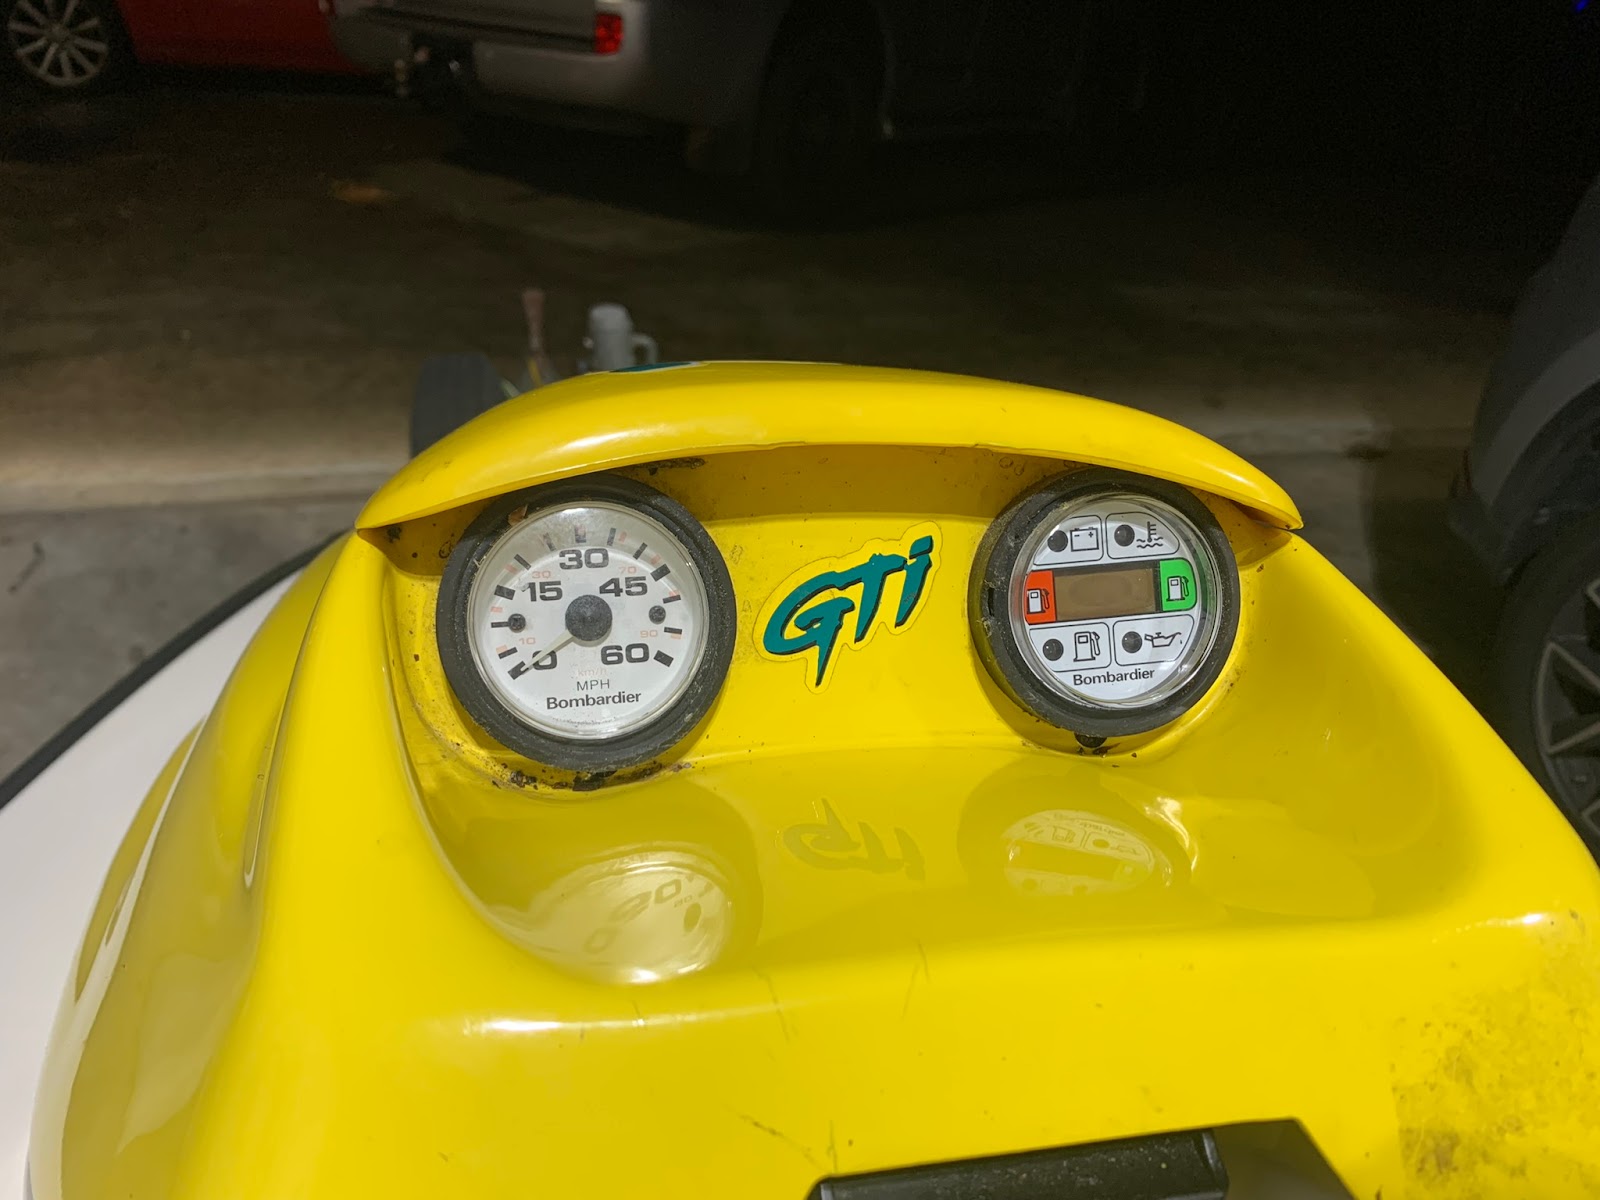
Then (like all great, cheap projects), I started suffering my first issue of not being able to maintain idle. Here’s a video of the issue:
Clearly the issue was fuel-related as applying any gas immediately bogged the jet ski down and caused a stall. My first thought was that the issue was related to the choke not properly disengaging upon cold start (meaning there was too much air in the air/fuel ratio) causing the Seadoo to stall. Rather than trying to investigate at the lake, I decided to bring the jet ski home to start my troubleshooting.
Due to my prior missteps with the Seadoo platform (specifically with the electrical system and MPEM), I decided my best next step would be to ask experienced individuals before potentially trying to fix. Within 5 minutes of posting the video online of the stalling issue the issue was identified as either a fuel line issue (known issue with older Seadoo products) or a carburetor in need of a rebuild.

The concept of a carburetor (carb) is simple: it mixes air and fuel for the engine to run. There are three types of people when it comes to carb rebuilds:
- If you are under 40 years old, you’re probably
at a loss thinking carbs are outdated technology, overly complex, and that fuel
injection (newer technology that replaced carbs) is just flat out better
- If you are over 40 years old, you’re more familiar
with the concept of carbs and yet you probably do not want to play with them
because you are worried about tuning it due to how finicky they can be
- If you aren’t one of the above 2 criteria (and not a professional mechanic), you’re a “shade-tree” mechanic that has rebuilt a carb with a screwdriver in one hand and a beer in the other telling either of the two scenarios above how easy they are to rebuild
I personally fall under the first scenario; I’m familiar
with the concept of carbs, but thought they were an outdated and antiquated
approach to modern electronics. Against my fathers’ judgement (who is very
handy but falls under the second scenario), I decided to try rebuilding the
carb myself because what’s the worst thing that can happen…
First and foremost, I bought the parts that I needed from
The Jet Ski Store which cost a grand total of around $100. Please note these parts are specific to the Seadoo 717 engine using the dual Mikuni carburetor setup (I have seen some that used a single instead of dual). To prepare myself for the upcoming rebuild, I started watching videos
on YouTube. About 3 days later the parts arrived and it was
time to start disassembling.

The carb removal was super straightforward was completed with basic hand. Here was the basic process to remove the carbs
- Remove the seat
- Remove the top of the air filter housing which
consists of 4 plastic tabs located around the air filter housing
- Pull out the air filter. I found this easiest
to do with my fingernails, but a small screwdriver would do the job of just
prying it out
- Remove the 4 Allen head bolts (I don’t have the
size) holding the lower part of the air filter housing on
- Remove the cables (noted below) connected to the
carb. Like most great learning experiences, I made a mistake here and went
for the other 6 Allen bolts holding on the carb prior to removing the cables on
the carb; I would highly advise doing this as you will end up putting at least
2 of them back in to hold the carb steady
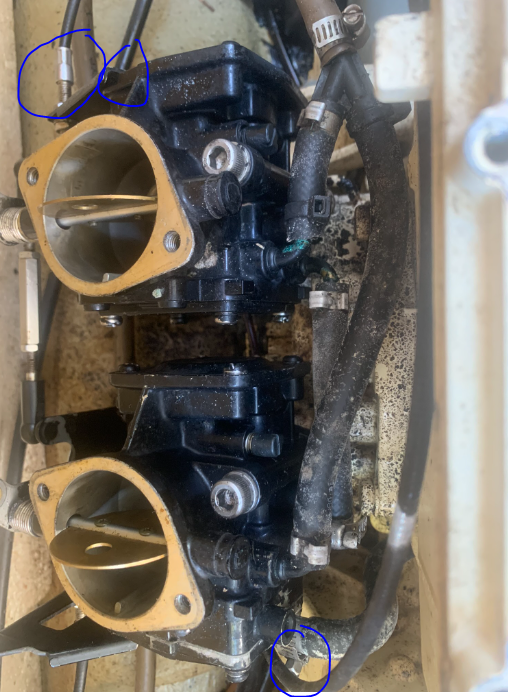
- Throttle cable – connected at the lower portion on
both sides of carb as technically the ’96 GTI carb is dual carb, meaning each
one has a cable
- Choke cable – connected at the top of the carb
- Remove the fuel lines held on by a hose clamp
- Remove the 6 Allen bolts holding on the carb


Once those last couple of bolts are removed, the carb will
essentially fall into your hands. Be careful not to drop or damage it. One
final note about the carb, do not turn it upside down in your garage as you
will be fumigated by the odor of gasoline (ask me how I know…).

Like the front
brake job in my 4Runner maintenance video, there are better videos available
online than I can provide. Here’s the one that I used for reference:
I will point out that I did build a pressure-popoff tool used to test the carbs diaphragm that I built for $20 (because I didn’t want to pay $60 for one). Here's a decent writeup if you want to do the same. Then I forgot to test anything with it, so it didn’t even matter… Here's what the finished product should look like:

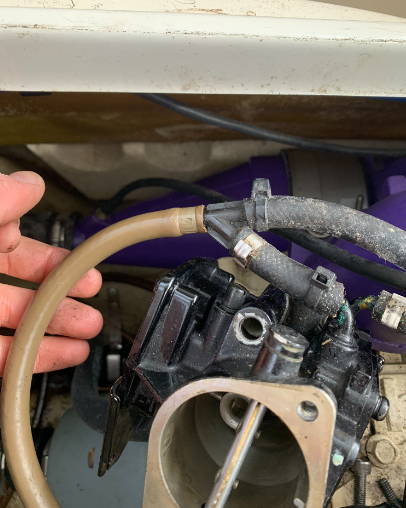
Before you start putting the carb back in the Seadoo, I HIGHLY recommend replacing the fuel lines as they are notorious for degrading and later forcing another carb rebuild. The original fuel lines (as shown below) were gray and can be replaced with fuel line from any auto parts store (shoutout O'Reily's where I bought mine for about $15).
After resolving the high-idle issue, I started the Seadoo for a few seconds and applied throttle. To my amazement everything appeared to be working. There was one final thing to do: Sea Trial.
The scariest part of any project is that first time checking to see if you were successful in your endeavor of fixing, repairing or modifying whatever it is that you were working on. The Seadoo was no exception to this rule. I had never replaced fuel lines, rebuilt a carburetor, or even worked on a jet ski (outside of the initial electrical problems).
I drove up to the lake, backed the Seadoo into the water, nervously stuck the key in, pulled the choke, and clicked start/stop. As expected, it started up and was idling perfectly. Obviously I was excited, but idling it not a WOT (wide-open throttle) moment. I unhooked myself from the trailer and quickly tied off to the dock to move my car (it was just me that day). I came back to the Seadoo, started it right up, idled out of the cove and went wide-open throttle...
Needless to say that was relieving and exciting at the same time. I rode around for about an hour as it started to get dark with no issues and running better than ever.
After having successfully completed the carb and having a better understanding for how carbs work in general, I now realize that while it older technology carbs are not necessarily bad. The thought that they can be finicky is accurate and I acknowledge that I was lucky that I did not have to tune the carb (or even use the pop-off pressure tool that I built), but their design and function now makes sense. The best parts of these projects is the opportunity to learn something that I would not otherwise take the time to understand.

My intention with the Seadoo is to sell it in the near future, however there may be a few more opportunities to enjoy it before this summer rolls around.


Comments
Post a Comment