Signs of LIFE for the Kawasaki Vulcan after a Decade
June 14, 2023

I am not a patient person. The next thing I did was roll the bike into the garage and immediately start thinking through what I should do. There's 4 things that are required to make something run:


I ended up cleaning out the tank about six times before it finally cleared all of the gunk out. I replaced the fuel lines, installed a new petcock, and put the tank back on the bike. To finish the gas side up I added about a gallon of fresh gas.

As mentioned above, I am not patient. I did not want to do a compression test on the motorcycle and just hoped for the best since it would require both time and effort. I figured that it was either going to start or it wasn't, so might as well just try. Here's the first try (spoiler alert, it failed):

If you missed my last post on my latest purchase (a 1999 Kawasaki Vulcan that I picked up for $1), check it out here.
After getting the motorcycle off the trailer (FYI these Harbor Freight trailers are fantastic), the first thing I did was break out the pressure washer to give this thing a formal spray down. I did what I could to avoid hitting the mechanical areas (engine, transmission, etc) directly just in case there was a significant leak. I was pretty impressed with the outcome after the 5 minute spray down:
I am not a patient person. The next thing I did was roll the bike into the garage and immediately start thinking through what I should do. There's 4 things that are required to make something run:
- Air
- Fuel
- Spark
- Compression
If you want a more thorough explanation on how these 4 required items, others can do a better job of breaking it down than I can. Here was one video that would be helpful:
First thing I checked were the twin airboxes (one on each side). I did a poor job documenting it and forgot to take pictures, but this was SUPER important to check. The air filters had completely disintegrated and if I had skipped this step I would have sucked all kinds of air filter material into the intake very likely damaging the engine. Air is the easiest thing to check, so I am glad I started here.
The next item was fuel. Since this bike had been sitting over a decade, I knew it would have bad gas and would need to be drained. To make matters better, the gas cap was locked shut and would not budge. The idea of drilling into a full gas tank (even with bad gas) sounded stupid (spark + gas = BOOM), so I tried prying the gas cap open. Do yourself a favor don't try and pry a motorcycle gas tank open, especially one in cosmetically good shape; you'll manage to dent the hell out of it like I did...
After damaging the gas tank and becoming mildly infuriated, I decided to take the smarter approach (and what I should have started with). I disconnected the tank from the bike, pulled the petcock out (which was COMPLETELY disintegrated) and drained the tank. Why I didn't take this approach to begin with is beyond me. Then I took my drill with a bit and destroyed the gas cap (no explosion, WOOHOO!). Finally it was time to clean the tank. I followed this video:
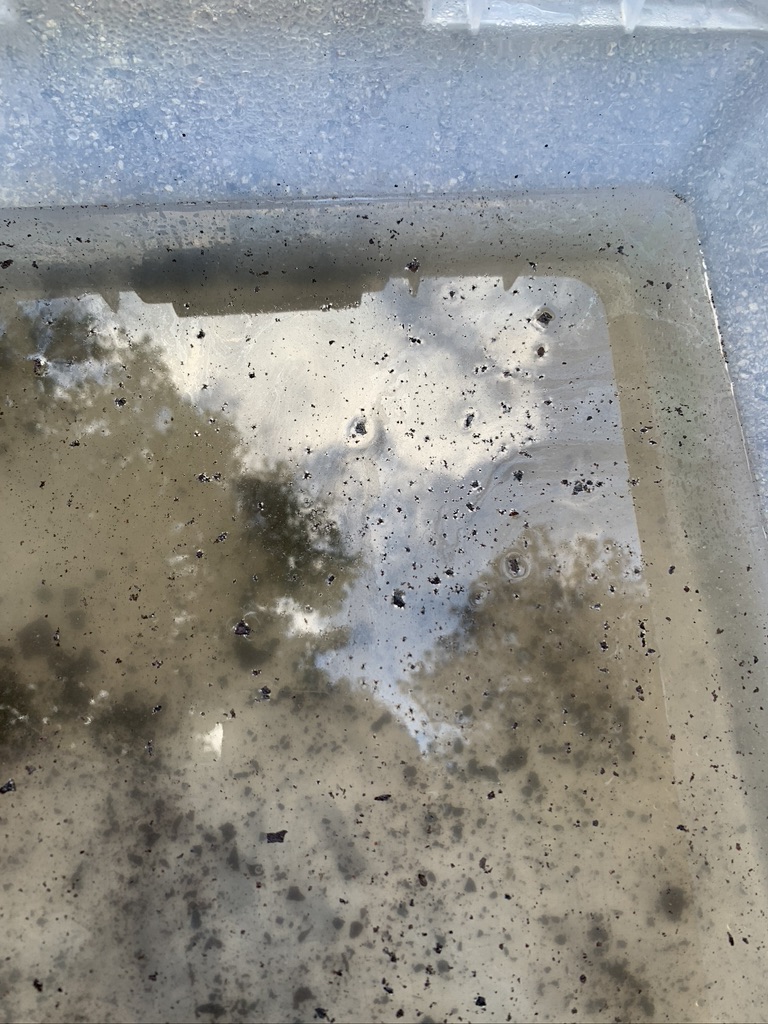
After the third time cleaning it out, this is what I got out of the tank (the first 2 times were even worse).
I ended up cleaning out the tank about six times before it finally cleared all of the gunk out. I replaced the fuel lines, installed a new petcock, and put the tank back on the bike. To finish the gas side up I added about a gallon of fresh gas.
Next, I shifted to the electrical/spark side of things. I bought a new battery because my old one was not even worth trying and pulled the spark plugs to inspect. The Vulcan 750 is a large 2-cylinder with 2 spark plugs per cylinder, so I checked on all 4. The spark plugs looked great (like WAY better than expected)!
There were signs of life, but it failed. After literally HOURS of research and continued failures, I actually had an idea of what may be causing the problem and gave it one final try. For the first time ever I actually did a good job breaking down in video what the problem and solution were.
After the failure to start my Suzuki GS1100 months ago, I had been wanting to resurrect a non-running motorcycle. The level of excitement that I had from this starting was second to none! To be clear, the objective of this bike is not to ride, but to serve as a learning experience for me.
Now that I had the motorcycle running, it was time to start fixing the things that were wrong and there is quite a LONG list. In my next post, I'll dive into those items including:
- Carburetor rebuild
- Dual front caliper rebuilds
- Rear brake shoes
- Air filters
- Oil change


Comments
Post a Comment